Eight Indoor Cycling Drills for Efficiency and Strength
Incorporating indoor cycling drills in your workout is a great way to reinforce good habits and experiment with new techniques. It’s also easy to do. You can add these eight drills to your indoor workouts to enhance your time spent in the saddle and target the efficiency of your pedal stroke.
Benefits of Indoor Cycling Drills
Cycling is all about spinning the pedals. If you go for a two-hour ride with an average cadence of 90 rpm, that would be over 10,000 pedal strokes! Needless to say, increasing your pedaling efficiency and strength will pay massive dividends. Completing drills on the trainer offers a safe way to practice without worrying about traffic, handling, or terrain. With a few indoor cycling drills, you can improve your cadence range, pedal longer, and be prepared for everything your ride throws at you.
Drills for Efficiency and Strength
If you want to improve the efficiency of your pedal stroke, hone in on the details of your form, and break up the monotony of your intervals, indoor cycling drills are the perfect addition to your scheduled workout. Drills are on-bike exercises that use repetition and form to target skills. They can focus on everything from increasing cadence, smoothing your pedal stroke, and improving out of the saddle transitions.
Regularly incorporating drills into your training can help you improve strength, efficiency, power. As a bonus, they’re easy to add and beneficial to athletes of all abilities. To get started, here are eight of our favorite cycling drills you can add to workouts.
Eight Indoor Cycling Drills
1. Pistons
A pedal stroke may feel like one complete motion, but it’s actually a combination of two opposing muscle actions in four parts. In a full pedal stroke, your foot moves up, forward, down, and backward. How well you maintain tension in your drivetrain as you move your foot from one quadrant of this motion to the next determines how efficient your pedal stroke is.

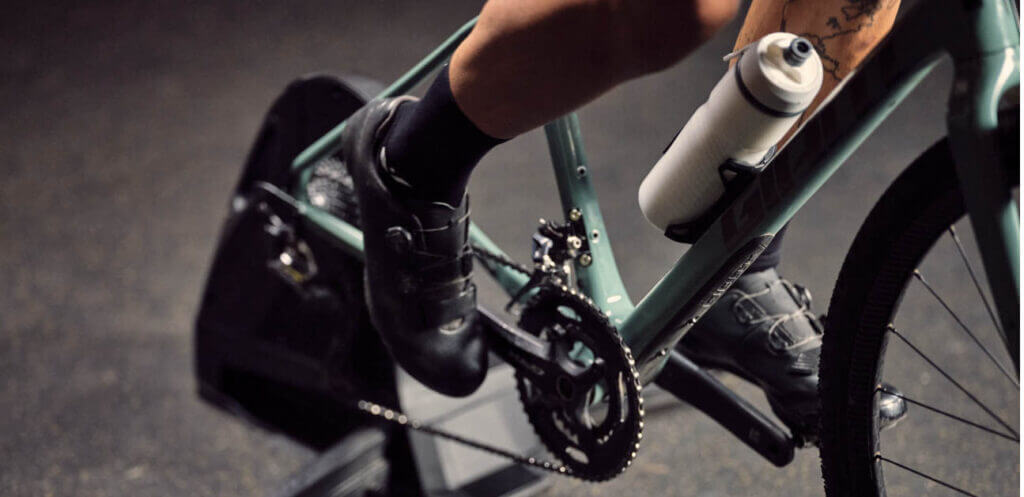
Indoor Training
Make the most of your hard work with an optimized indoor training experience.
Check Out TrainerRoadPistons target the efficiency of the downward motion in the pedal stroke by addressing the position of your knees. Any lateral movement in your knees as you push down on the pedals is hard on your joints and is inefficient.
To practice pistons, focus on the position of your knees as you pedal. Your knees should move directly up and directly down as you pedal—much like a piston. When you do this drill, focus on minimizing any lateral movement in your knees. Try this drill in 30-60 second intervals, focusing on one knee per interval.
2. Kick & Pulls
The top and bottom of your pedal stroke are the toughest points to maintain tension in your drivetrain. Kick and pulls reinforce your ability to maintain tension through the weakest points in your pedal stroke.
To kick and pull, lightly kick your toes into the fronts of your shoes as your knee approaches the top of your pedal stroke. As you move through the pedal stroke and your foot approaches the very bottom of the circle, lightly pull your heels into the backs of your shoes almost like your scraping something from the bottom of your foot. To complete this drill, focus on the kicking motion for 30-60 seconds and then the pulling motion for an additional 30-60 seconds. When you feel good about both motions, combine them for an additional 30-60 second interval.
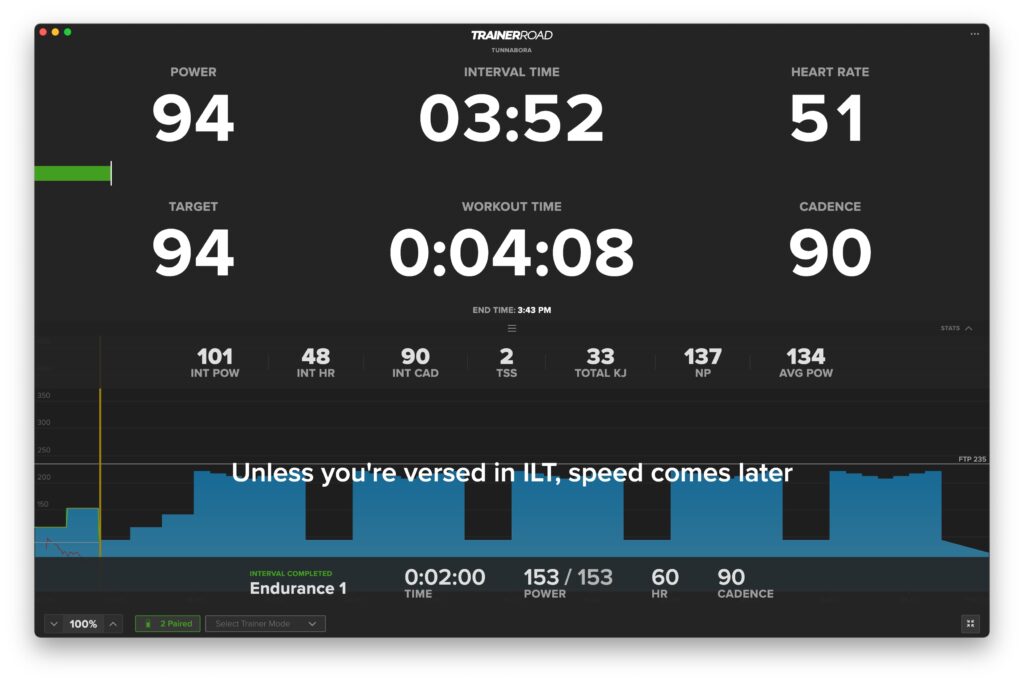
3. Isolated Leg Training (ILT)
Isolated leg training (ILT) is another indoor cycling drill designed to help you balance out your pedal stroke and pedal more efficiently. Instead of focusing on the top and bottom of each pedal stroke, this drill has you hone in on each individual leg to develop neuromuscular coordination.
To perform ILT drills, start by unclipping one foot. You can prop your foot up on a chair or leave it hovering away from your pedal. With the opposite foot still clipped in, start pushing the pedal. Begin with a low cadence and focus on maintaining consistent tension through your pedal stroke. Don’t worry about power during this drill. Naturally, your power will be lower without the help of your other leg.
You may notice a dead spot in your pedal stroke signified by a knocking sound—typically at the top or bottom of the pedal stroke. Either slow down or focus on the kick and pull technique to maintain tension if this happens. Try starting with a two-minute block. Switch legs anytime your active leg feels cooked. As you progress with these drills, you’ll be able to push higher cadences.
4. Single Leg Focus (SLF)
Single leg focus drills are similar to ILT drills but easier to complete. They’re another way to address your technique in each leg. Leaving both legs clipped in, focus all of your attention on one leg’s motion through the bottom of the pedal stroke, the upstroke, and then over the top without any assistance from your other leg. Try and lightly pull your foot across the bottom of your pedal stroke as you lift your knee upward. Follow it by softly kicking your foot over the top.
Your cadence may falter during this drill. That’s okay! The goal is to focus on the details of your pedal stroke rather than speed. Do this drill in 90-second intervals, alternating between your left and right leg. If you notice a large discrepancy in ability between legs, feel free to spend additional time on your “weaker” leg.
5. Speed Endurance Intervals
Speed endurance intervals are drills designed to help improve your efficiency pedaling at different cadences. If you can turn the pedals with less strain on your muscles, it broadens your ability to stay in the aerobic energy system and conserve energy. In other words, this indoor cycling drill is a great one for increasing your cadence.
To complete a speed endurance interval, you’ll maintain the same power target prescribed in your workout while riding at an RPM higher than the cadence you’re most comfortable riding at. This is typically 3-5 rpm above your usual cadence. If your heart rate rises by more than a couple of beats per minute, lower your spin. Don’t have a cadence sensor? You can do this drill by feel. Intervals should be at least five minutes long.
6. Force Intervals
Force intervals are intended to help you generate power at a low cadence. To complete this drill, find a gear that still allows you to hit your target power while spinning a cadence between 50 and 60 pm. When doing this drill, focus on the top and bottom of your pedal stroke by kicking over the top and pressing your foot downwards. If you have any pain or issues with your knees, feel free to skip this drill altogether.
7. Form Sprints
Form sprints are sprint simulations completed at low power with a high cadence. To complete a form sprint, wait until you’re in an interval with a low target power output. When you’re ready to start, exit the saddle in easier gear and quickly wind up. This drill is all about leg speed, form, and technique, so focus on winding up quickly while maintaining good form. These drills should only be about ten seconds long.

The transition from seated to standing is an opportunity for energy, power, and momentum to be lost or gained. Focus on the mechanics of moving in and out of the saddle smoothly as you move through these drills.
8. Strength Sprints
Strength sprints are another standing sprint drill designed to help you turn over a big gear and quickly recruit as many muscle fibers as possible. You’ll begin these drills at a near stop. Your goal is to pedal as gracefully as possible from this near stop in twelve pedal strokes, without exceeding 90 rpm. Pro tip: This indoor cycling drill works best if the flywheel on your training isn’t spinning fast, so coast for a few seconds to let the flywheel slow down.
This drill may emphasize strength, but its main focus is still proper form. Focus on maintaining the form that you’ve been practicing in your other form drills. As you stand up to pedal, hold onto your handlebars and drive each foot as hard as you can without compromising technique.
When to Add Drills
The nature of indoor workouts makes them the perfect place for adding drills. There are very few distractions from your pedaling mechanics, and you can narrow your attention to the smallest details of your body position. It’s also a low-risk environment, perfect for making mistakes and experimenting with new techniques.
Not every indoor workout is perfect for every drill. Drills are generally easier to add to low-intensity rides and base training. With that said, they can still have a place in other workouts and the rest of your season. When you add them to more dynamic workouts try to choose drills that compliment the intervals in your scheduled workout. Fortunately, many are already included in TrainerRoad workouts.
For example, form and strength sprints can be a great addition to a VO2 max workout, and single-leg focus drills are perfect for endurance rides with steady-state intervals or resting intervals in between. On the other hand, adding strength sprints to a recovery ride may interfere with your recovery. At the same time, single-leg focus drills will probably prevent you from hitting your power target during a threshold workout.
How to Add Drills
When you add drills to your workouts, prioritize quality over quantity—completing drills while fatigued or rushed risks reinforcing bad habits instead of good ones. Add them when you have the mental bandwidth to take on another task and focus on good technique. If you lose focus or struggle to maintain good form, switch to an easier drill or resume pedaling normally. It’s better to complete a fraction of the drill at the highest quality than the whole thing at a lower quality.
When you start doing drills, try to give each one a shot. Over time you’ll see that some indoor cycling drills are more beneficial than others and that your strengths and weaknesses call for more focus in certain areas. Feel free to tailor each one to match your own needs.
Additional Drill Tips
- Turn on the workout text in your TrainerRoad workouts. Lots of TrainerRoad workouts already have drills incorporated into the workout through the workout text.
- If you’re using a smart trainer and you have it in Erg mode, you may want to turn it to resistance mode for drills work that impacts cadence and power. Drills like ISL drills and force intervals can be challenging to do in ERG mode.
- Write the drill down on a note and put it somewhere you can see during your workout. When you first start incorporating drills into your workout it can be tricky to remember them all.