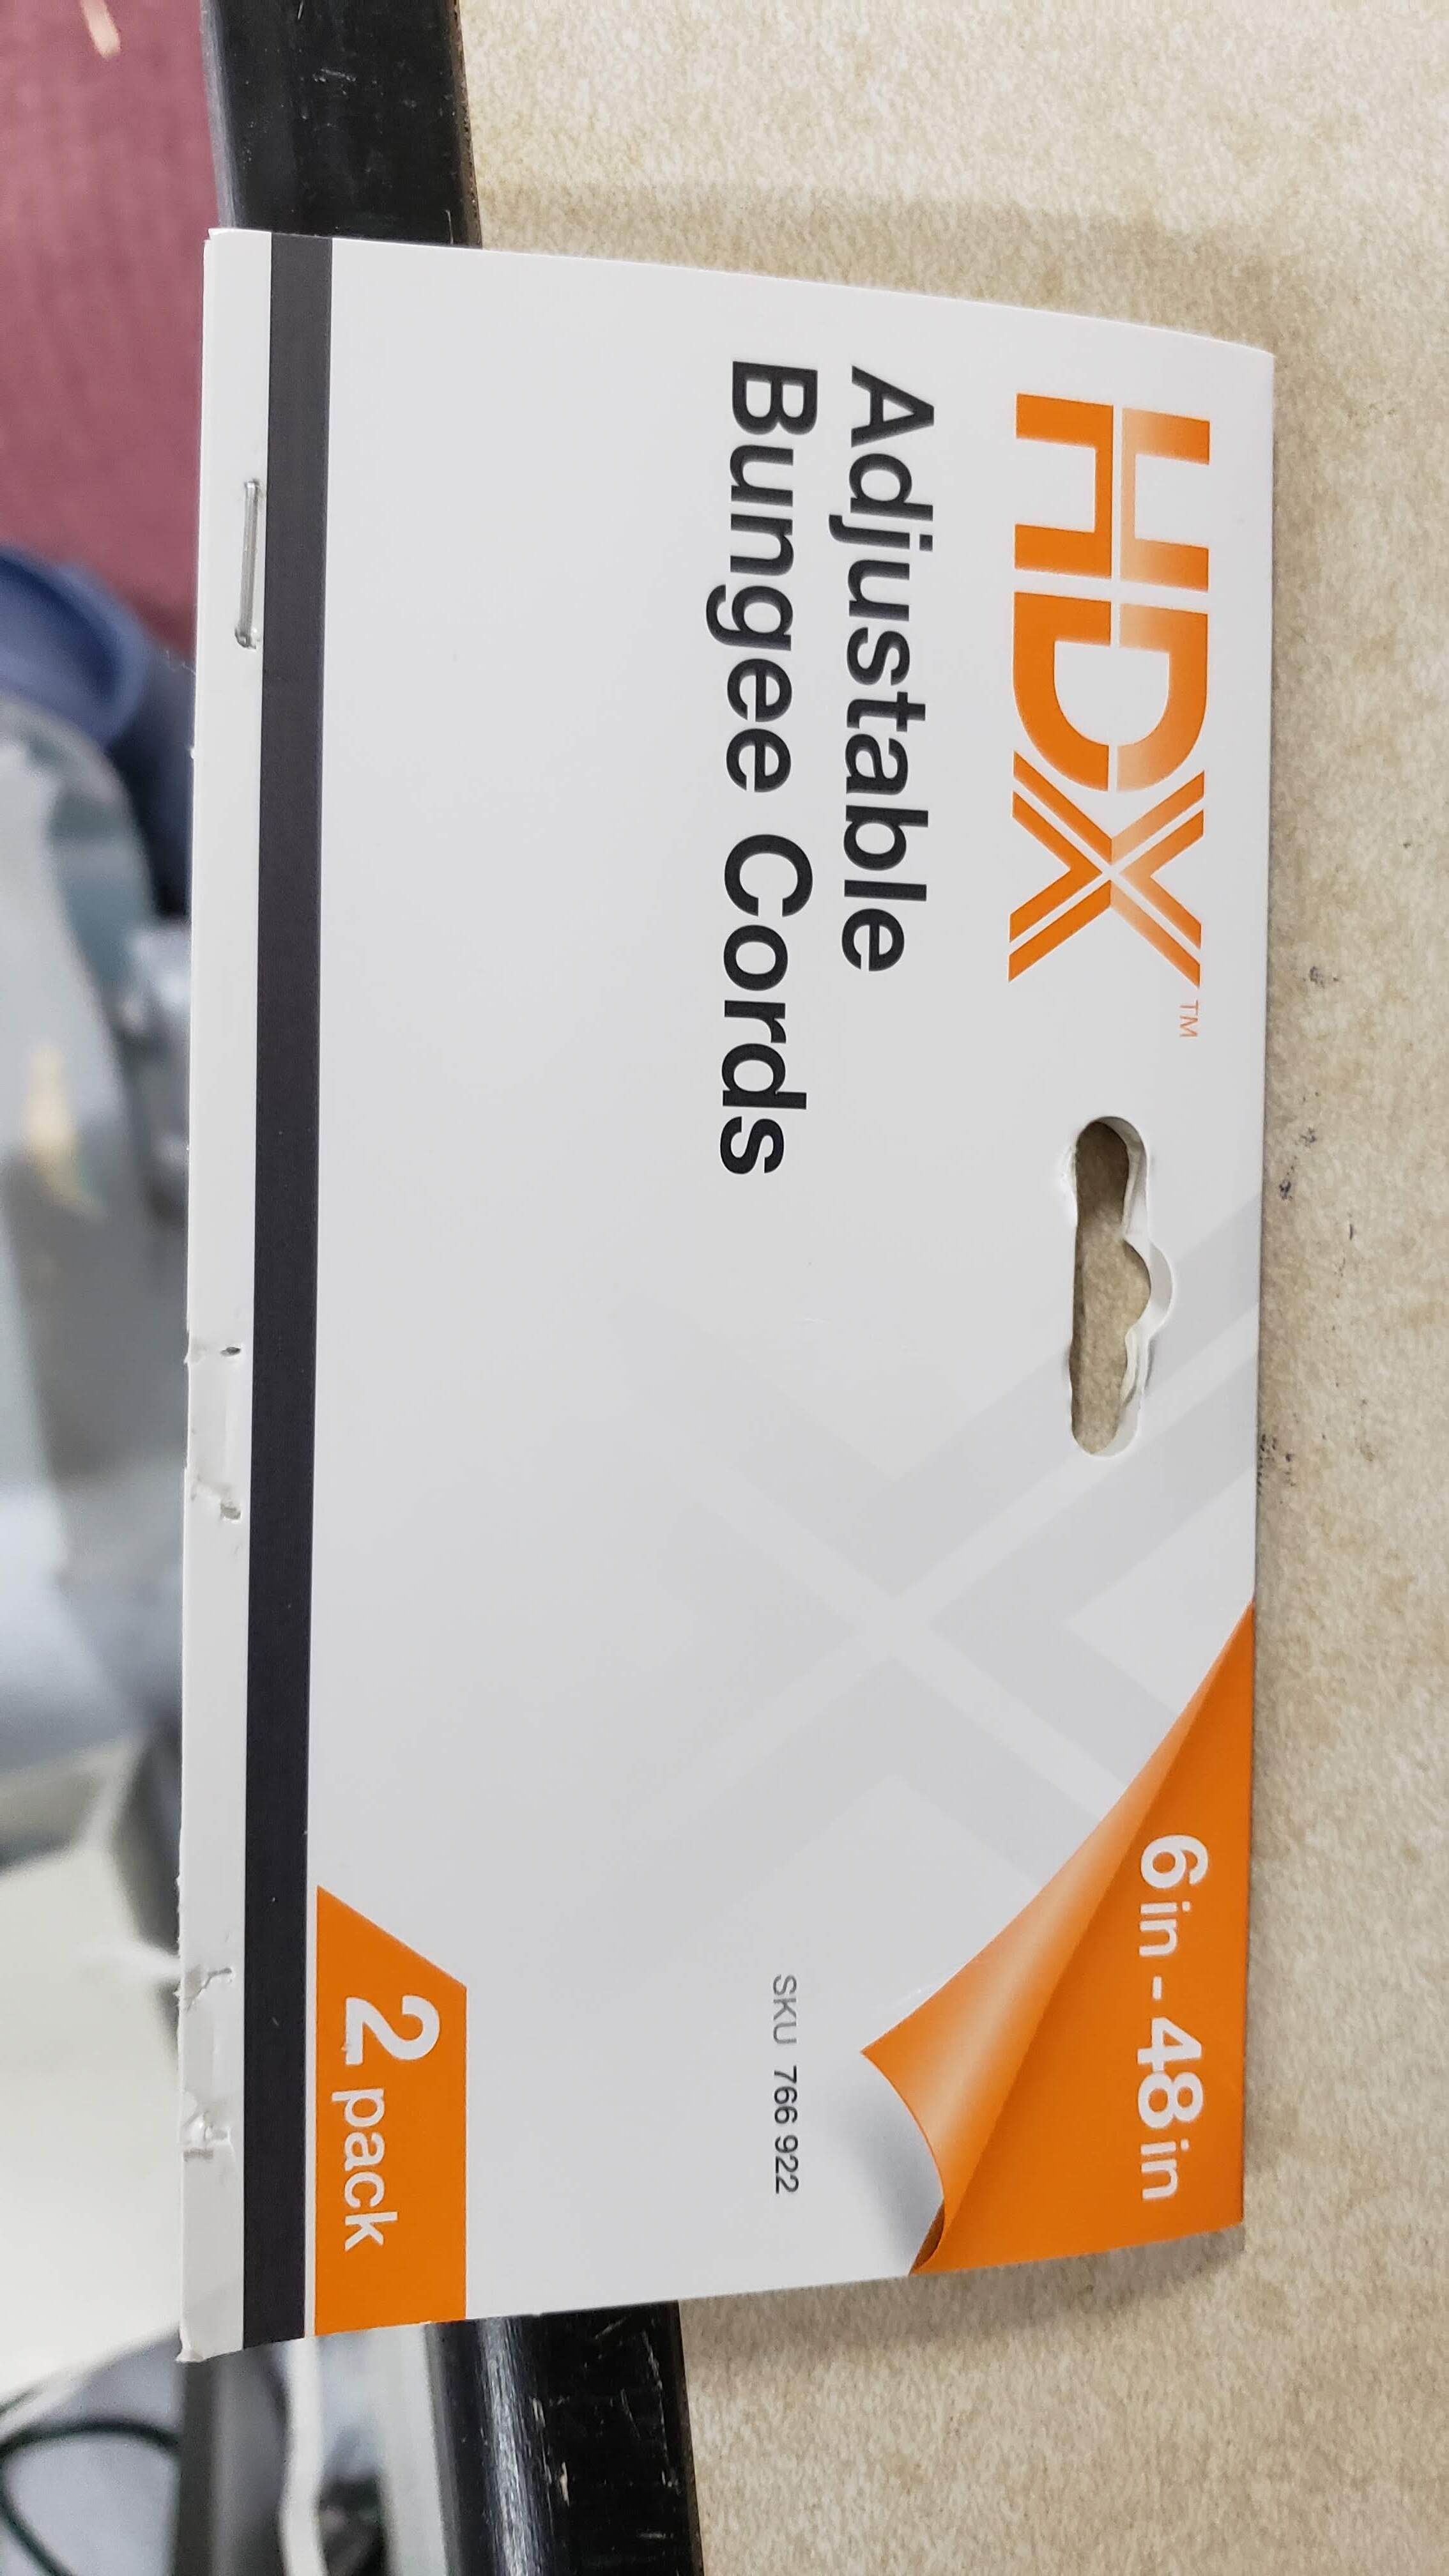
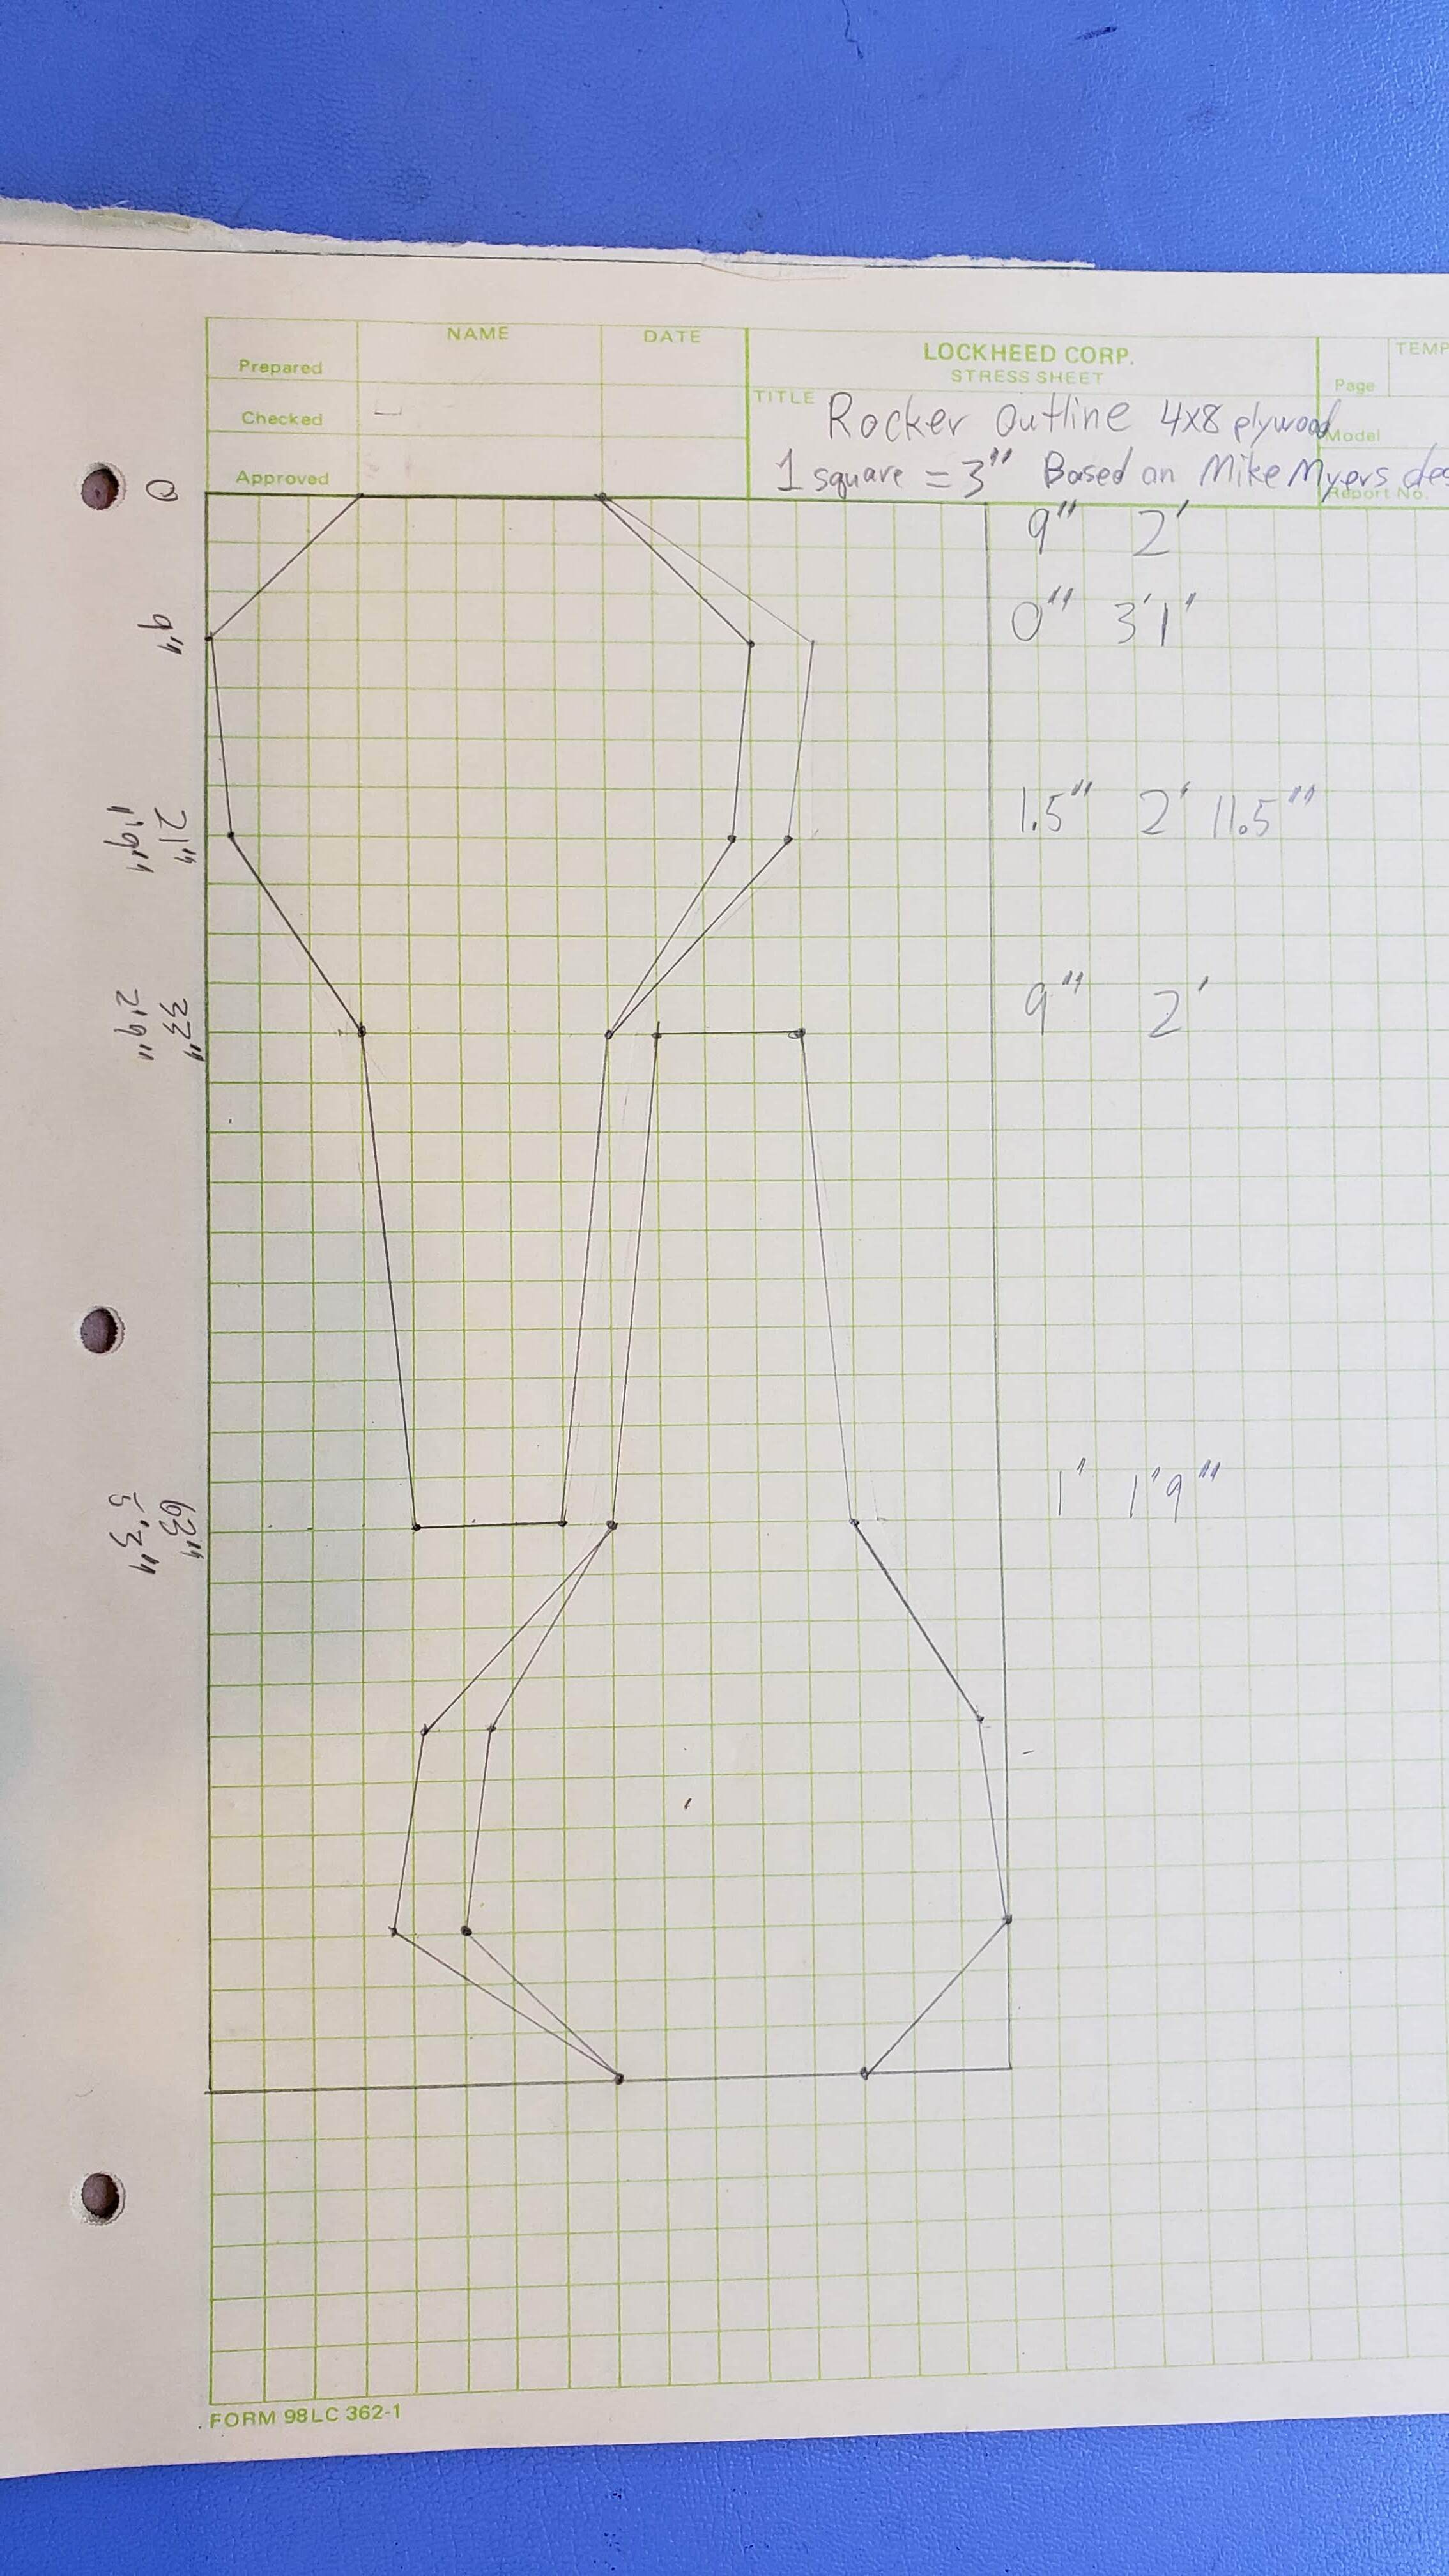
Cool. I looked at those plans in more detail. They look like they can be modified. That’s a serious build! Back to my earlier question, those dampeners should work with a couple spacers added. Should get to 3” between plywood pretty easily. Thanks @TriSherpa and @mcneese.chad
@mcneese.chad I noticed the other day that on my SBR Rocker plate that the shaft was backing out of the bearings and holders. It had moved like 4 inches. Is this common?
I loosened the holders and put it back in place and tightened them up but just wondered.
I have not see any real comments about that issue in our group. I think I had to tighten mine once initially, and haven’t had to touch them sense. I recently pulled the rocker out and did a bolt torque test, and they were still fine.
It’s possible they were either a tad loose initially, or worked a bit loose during “break-in”. Probably good to re-check yours again in a month or so, or just keep an eye out for shifting again.
Hey Chad - here’s the finished product!
Every detail was driven by the attempt to make it as low-profile as possible yet still give me ~1.5 inches of rocking. My ceiling height is 6 feet and I’m 5’10" so there’s very little headroom. I took your basic design and used two 5 inch T-hinges from home depot as my pivot hinge. The longer arm attached to bottom of the plywood deck (you see machine screws poking up), and the shorter arm attached to a 1x4 board that runs in the middle. I added some leftover vinyl flooring that has this grippy rubbery surface to the bottom to add some grip.
The perpendicular boards on the bottom surface didn’t turn out to add any grip because they’re slightly warped, unfortunately, so they don’t even make much contact the with ground. I used pocket screws and metal straps - so that turned out to be low-value use of time and materials.
The reason one side has straps and the other has pipe clamps was more experimentation. They both had their own complexity to install.
Thanks for all your help and encouragement! I’m still getting used to the rocking motion.
Lastly - here’s an interesting bit. I have a left-sided crank arm power meter in addition to the kickr core. I’ve had to scale down the single-sided PM to match the CORE, assuming my left leg is slightly more powerful that my right. After being on the rocker plate, however, my PM started under-reporting by 5% compared to the CORE, and I think this is because I’m getting more balanced power from my legs. Seems more 50/50 now. That’s a win!

Thats looks really great. So happy you were able to make mods and get s functional solution for your space restriction.
Sounds interesting in the power. I suspect we may be making subtle changes to our riding on rigid trainers that may alter or limit our pedalling performance. Will be interesting to hear you thoughts after a few weeks on it to see if that improvement remains.
Great work and happy rocking! ![]()
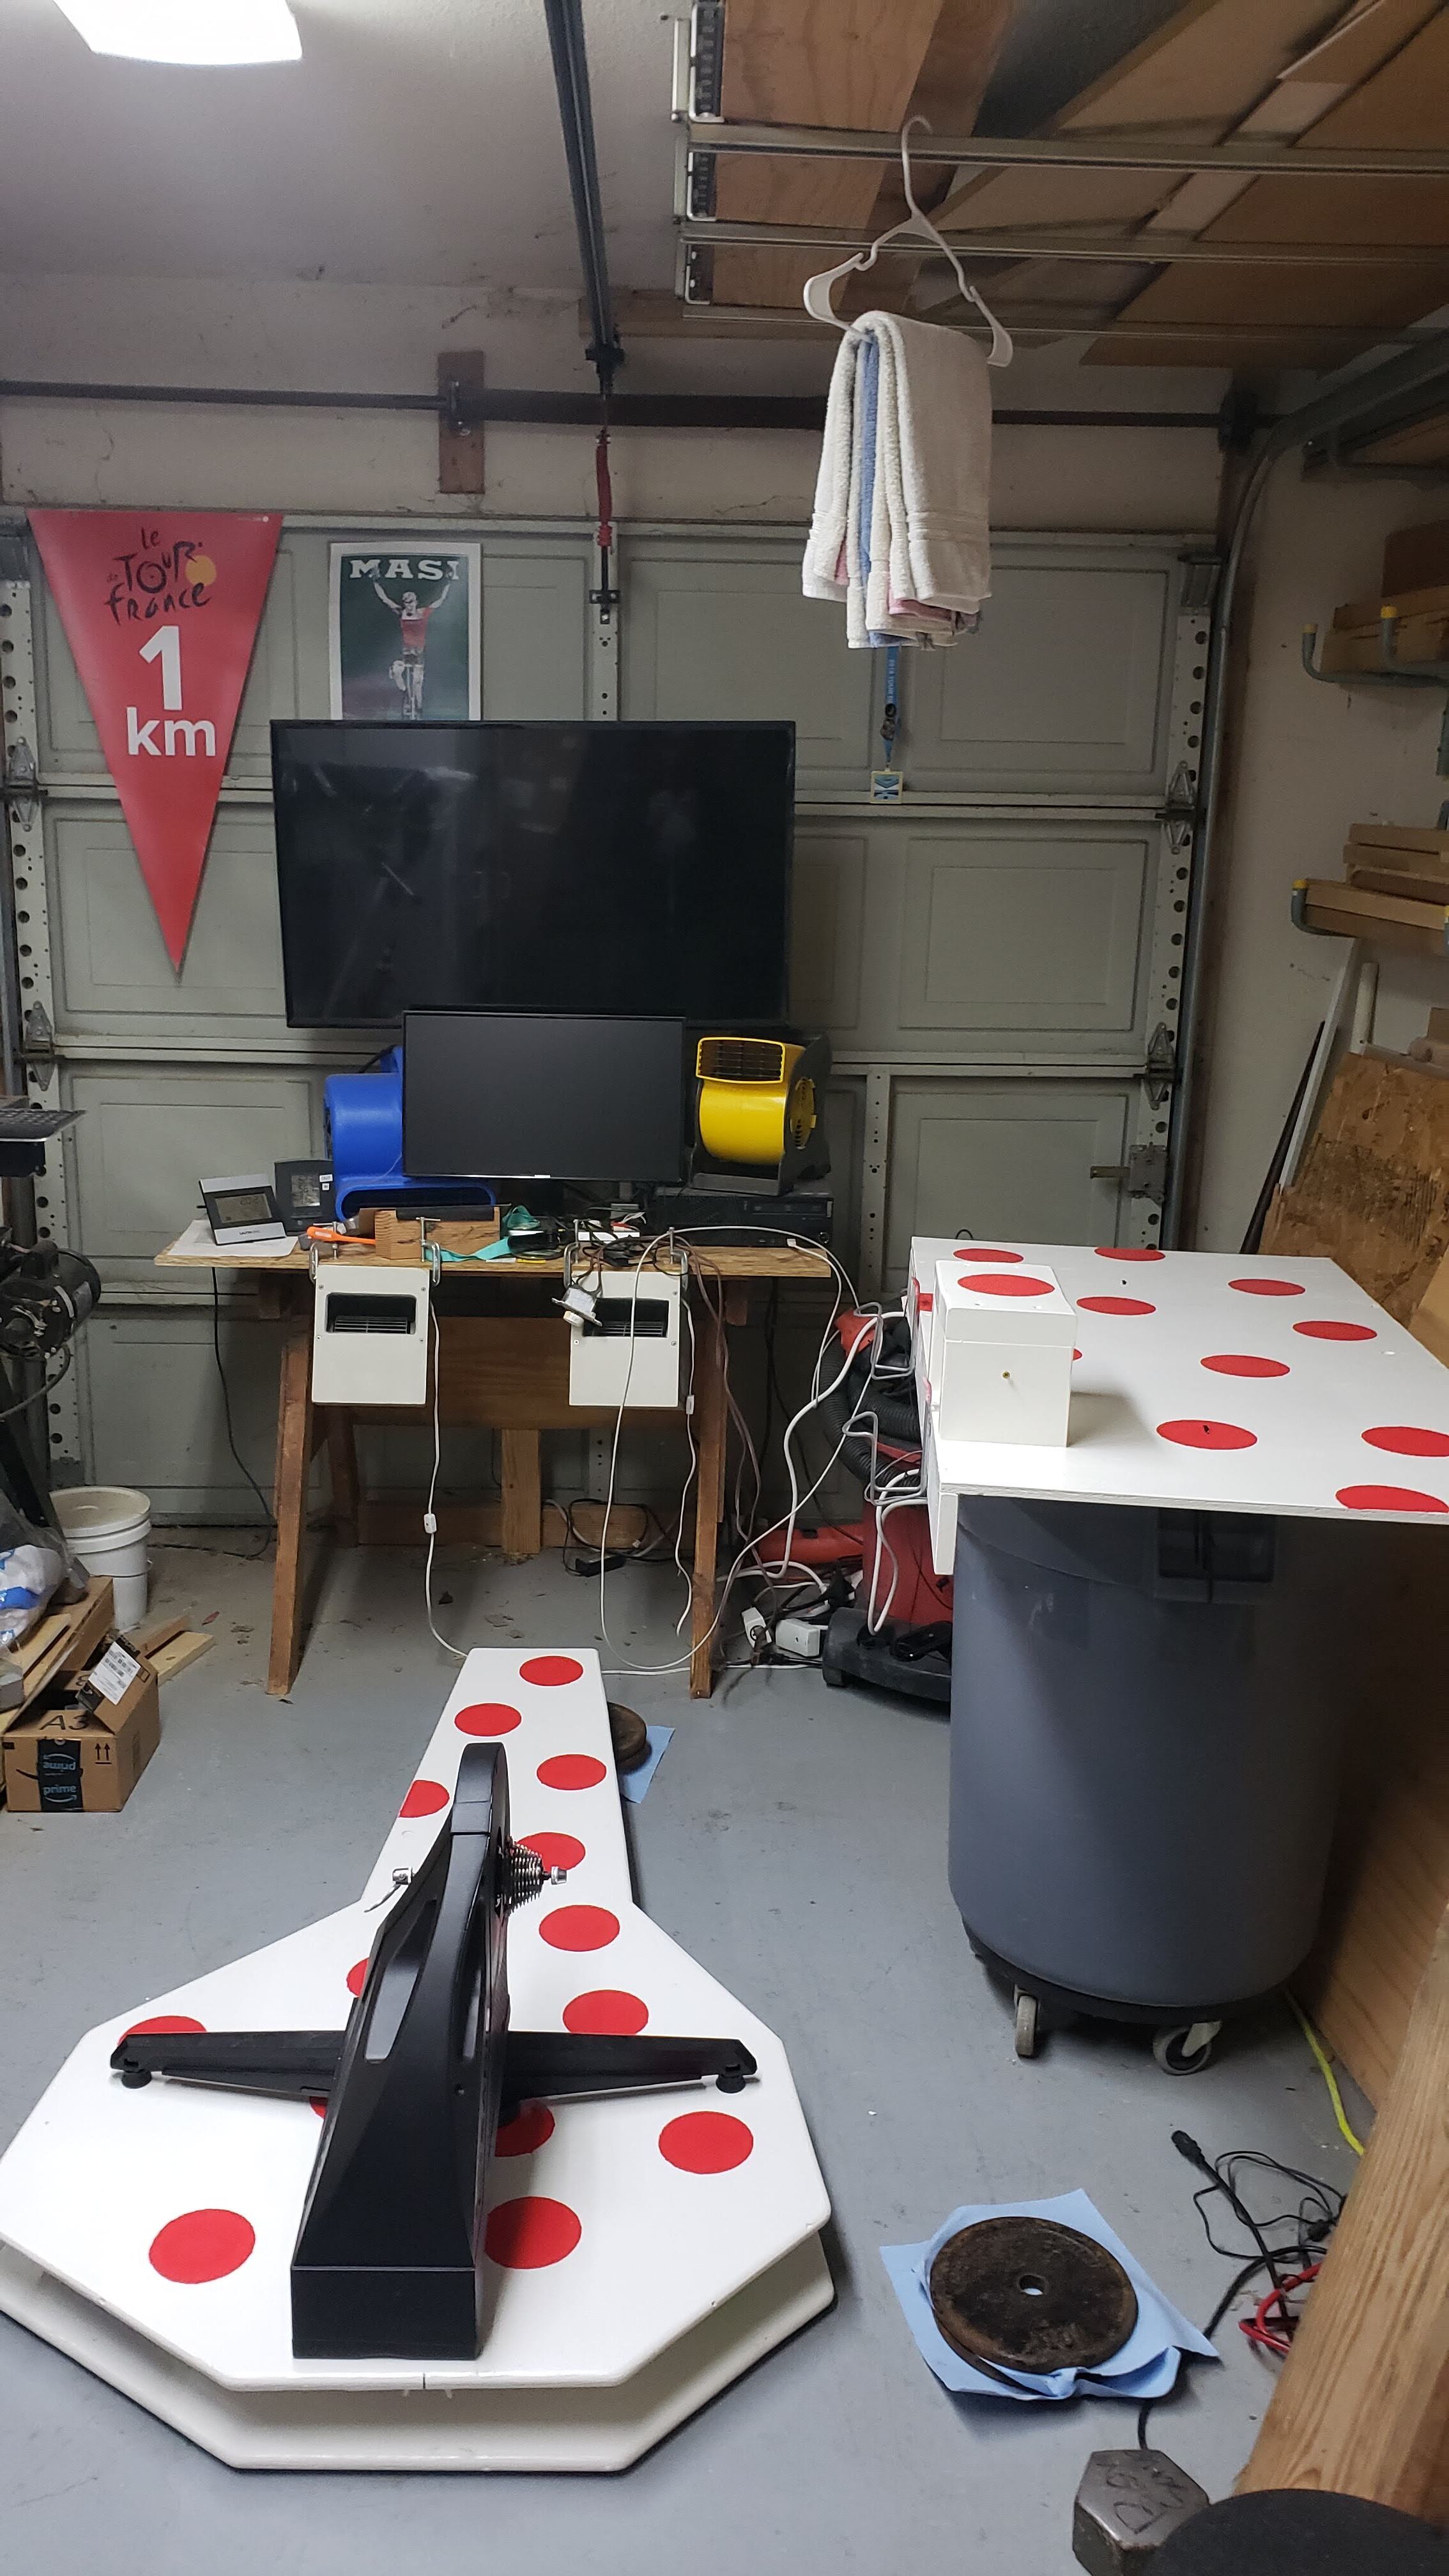
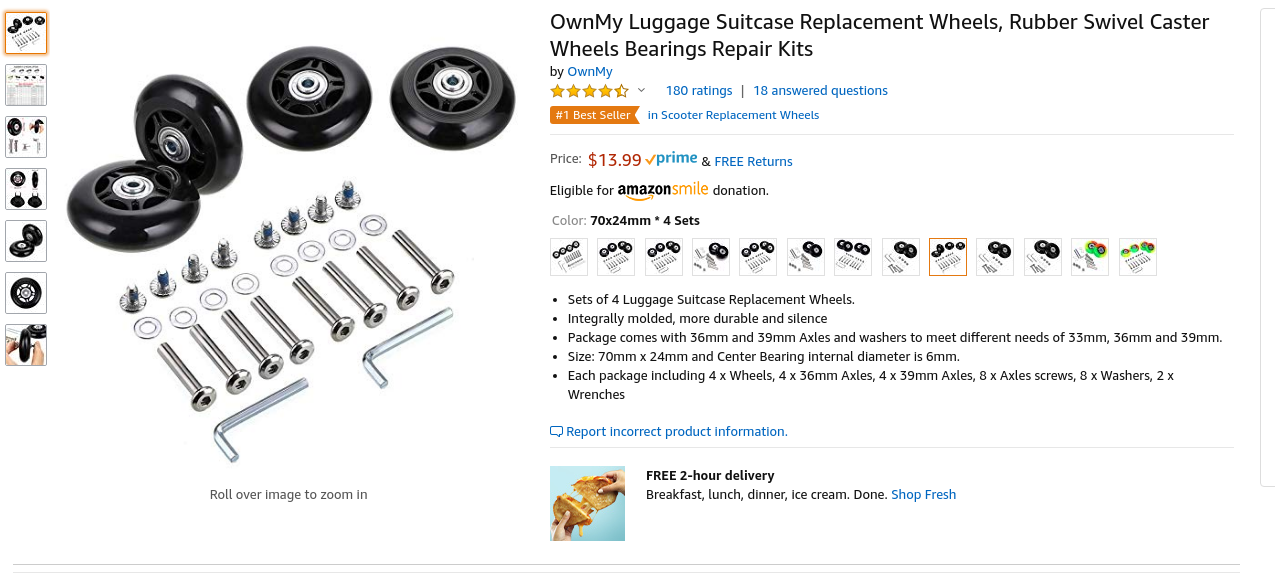
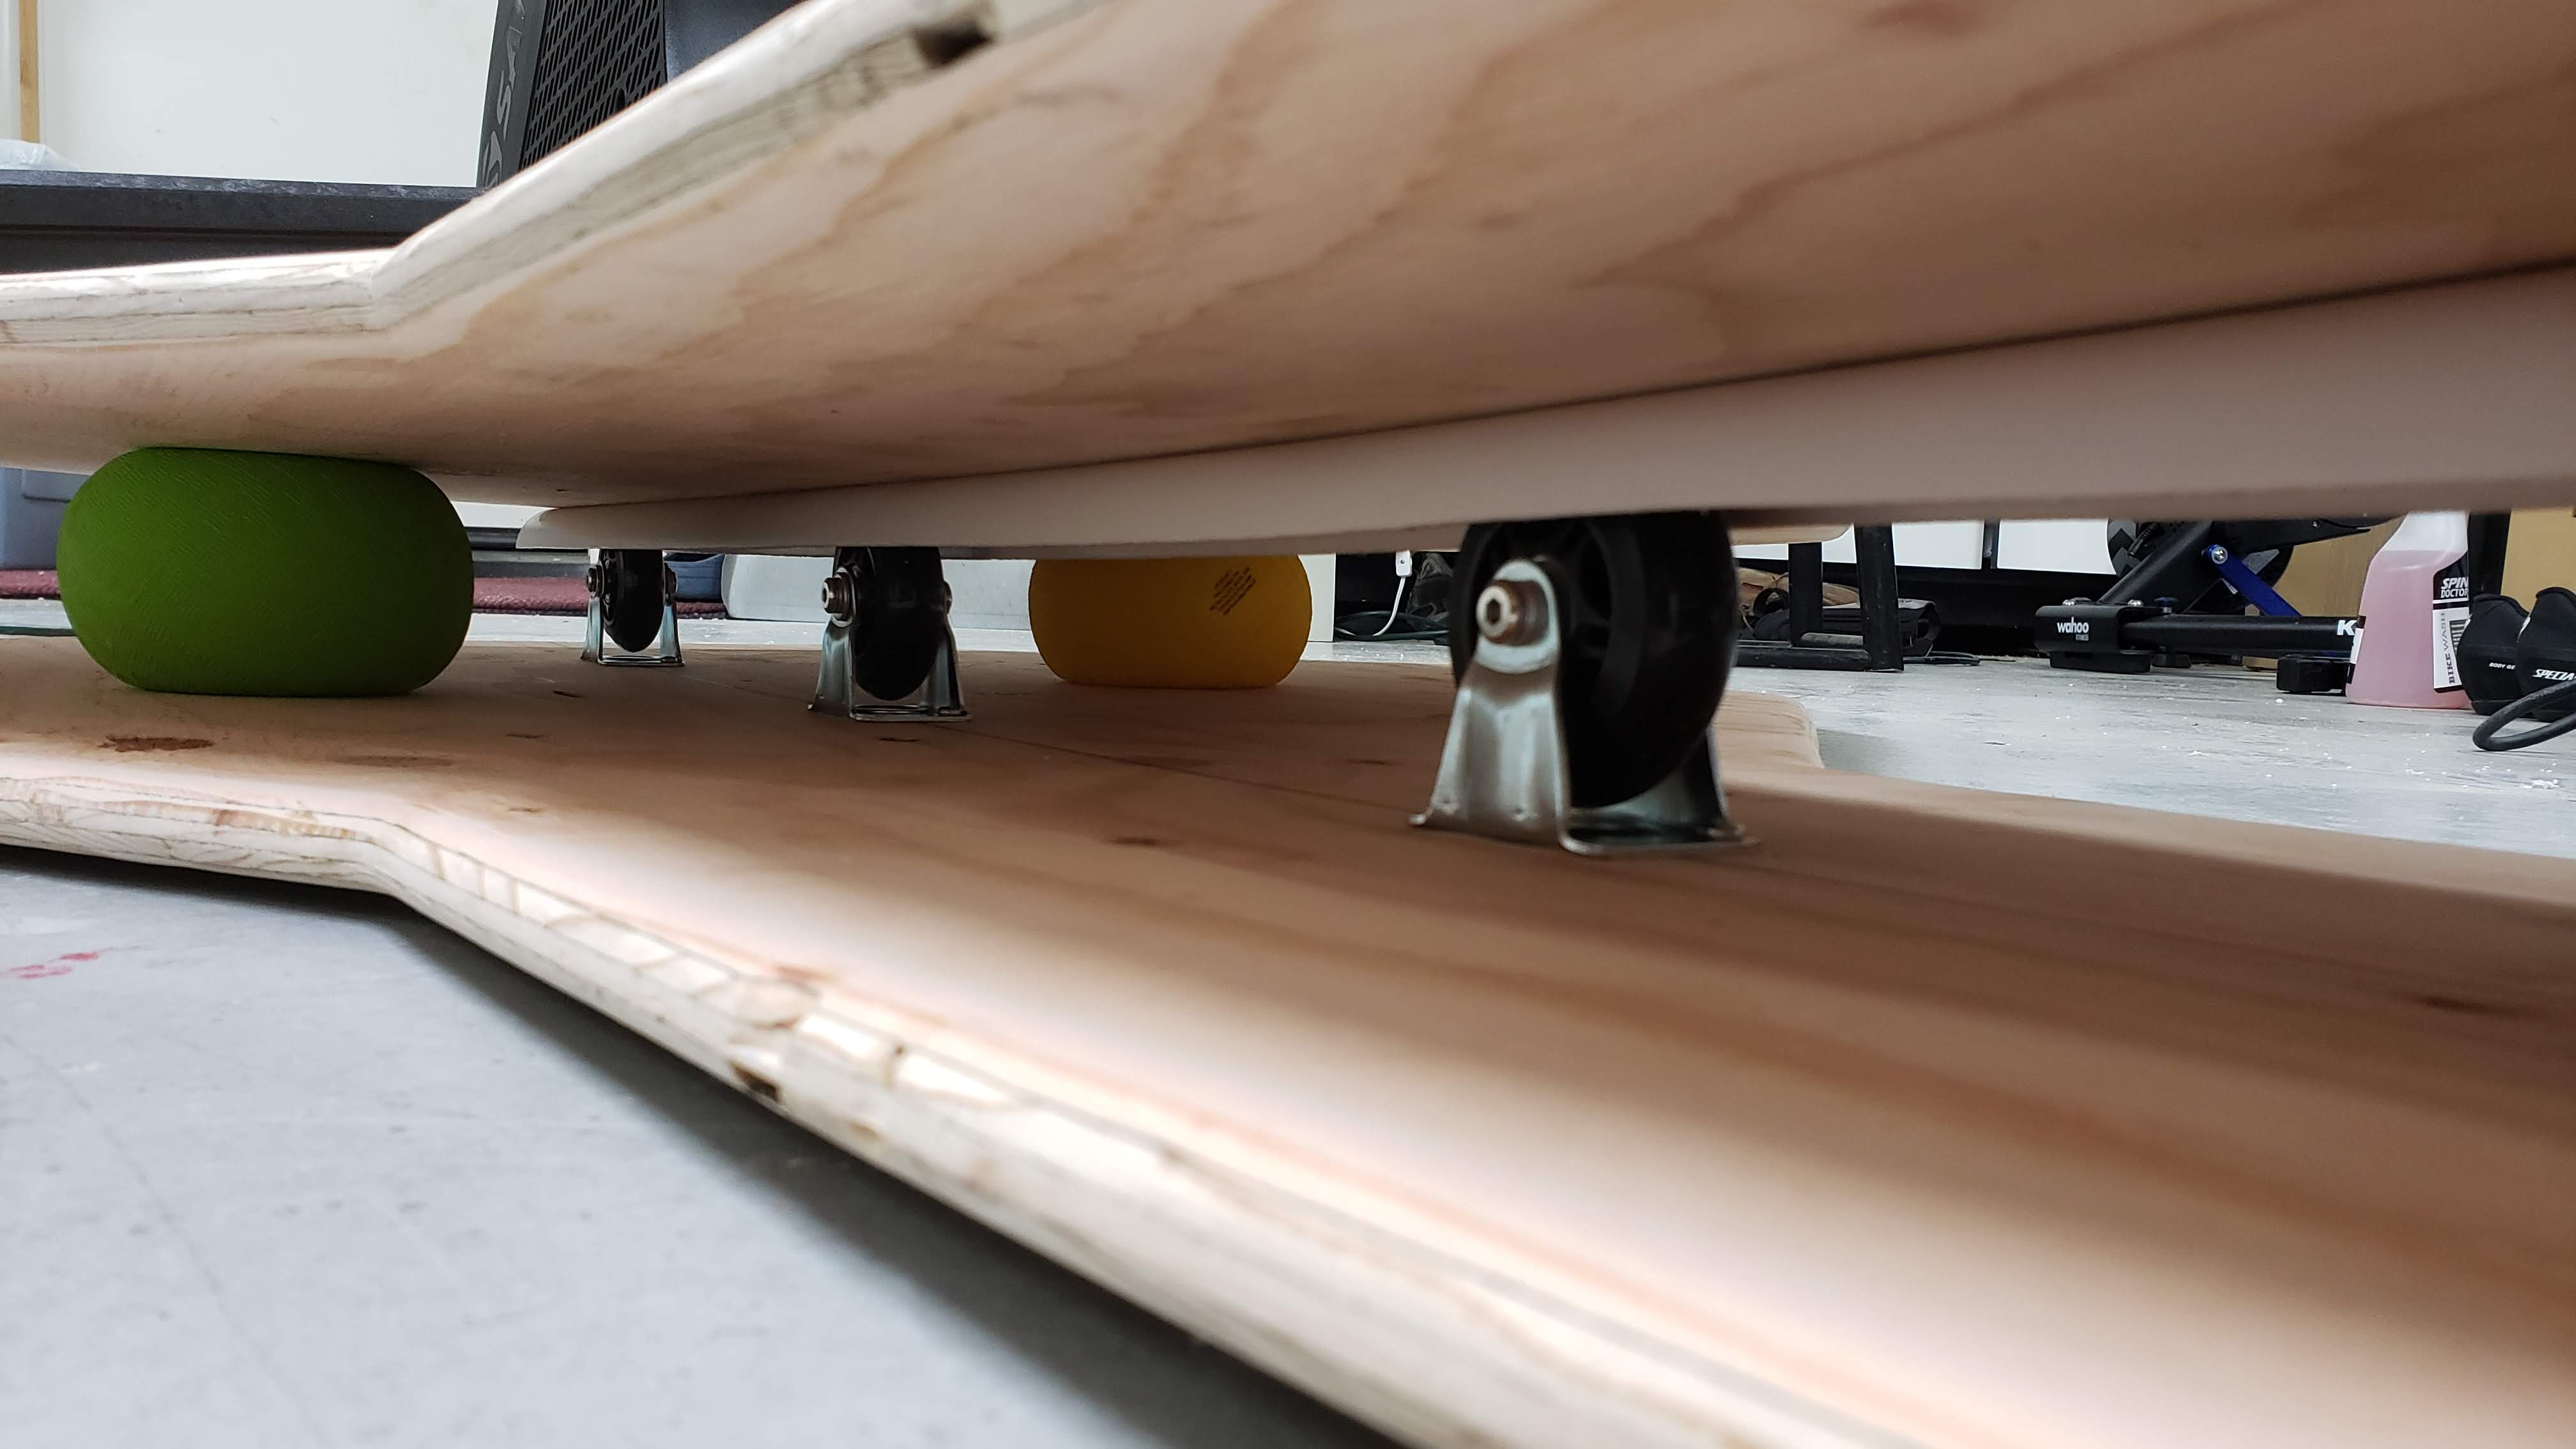
Here is my build based on some designs from the Facebook group. I have only done a quick test ride, so I still have some tuning to do. The channel for the wheels is 1.5" PVC that I cut in half, and I used ‘luggage’ wheels, rather than inline skate wheels as those were a bit cheaper.
The plywood I got is slightly warped, which has been a bit of a pain. Since my design is asymmetrical for the H3 trainer, I couldn’t flip it over, so I’m stuck with the ends off the ground. I think having the concave face towards the ground would be better, but that would need to be planned from the start. Also, since the top is not attached to the bottom, that places a limit on how much the balls can be inflated.
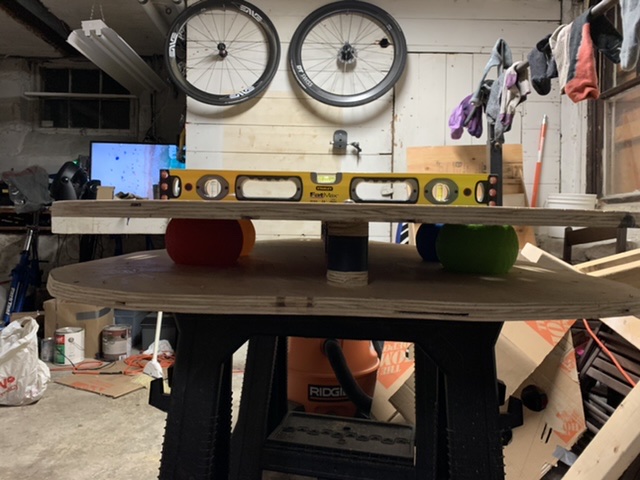
I tried to attach the bungy cords for fore/aft movement in a way that wouldn’t also cause lateral sway.
I had intended to first to one without fore/aft, but then decided to go for that from the start. If that doesn’t work out, I can easily go to a design with just lateral movement using isolation mounts. I haven’t decided exactly how I’m going to mount the trainer on the platform yet.

That looks really good. Can’t wait to hear what you think after some rides ![]()
That is neat. If the fore/aft thing works out, I might redo mine. And your paint job is better.
Replying to myself here, just finished the first ride on it (Baxter, of course) and my initial impression is very positive. My previous rocker used pool noodles for side to side springs, so it was fairly well damped (or dampened, I can never remember). Using the rubber balls this is more freely moving side to side. I lucked out and haven’t had to fiddle with the pressures - my first guess is working out well.
The fore/aft movement is very noticeable, however for the most part it seems to be mostly about +/- 1 inch or so. I wonder if something like really tall/flexible isolation mounts could provide this much fore/aft and be simpler too. My guess is getting to +/- 1 inch fore/aft would get you much of the benefit.
I’m also getting used to a new bike fit with some big changes, so I can’t say that this was ‘more comfortable’. I did like the extra freedom of movement.
I do think than any rocker plate is better than no rocker plate, and even simple ones get you most of the benefit. Here’s a picture of my previous rocker plate, which I made from scraps in about an hour (after a few adjustments.) It was meant to be a prototype, but it worked well enough I used it for over a year before I decided to go all in.

Nice work. Sounds like a great star on setting and results. I agree that fore-aft is nice and a little goes a long way. It helps smooth out the drought transitions, but should disappear either than that.
A little off topic, but if you don’t mind me asking. Why did you change your kickr for a Saris H3? I’m looking to buy one of these two trainer to use for zwift group rides and racing.
Randolph
Just ordered some isolation mounts, 5” rubber playground balls from amazon, and have a bunch of scrap 3/4” plywood in my shop. Should have a rough working prototype by the end of the week.
Nice! Have fun building. Can’t wait to see your build and hear your experiences. ![]()
Just finished building mine rocker plate. Took a little time to do all the measurements but worth it. Thanks to @Juarez for some awesome plans at thread 163. It was roughly $100 all in so I couldn’t argue with the price. The last thing I’m going to do is put some 1/2” thick furniture felt pads underneath to compensate for the screw heads and make it so it won’t mark the floor. Probably also sand it some more and throw a coat of stain on it. Have yet to try it as I just finished it tonight. Looking forward to it! I’m planning holding my Tacx Neo2 on with a cheap ratchet strap. Thanks for a great thread and tons of info. Also please disregard my squat rack in the pic that doubles as a drying rack ![]()
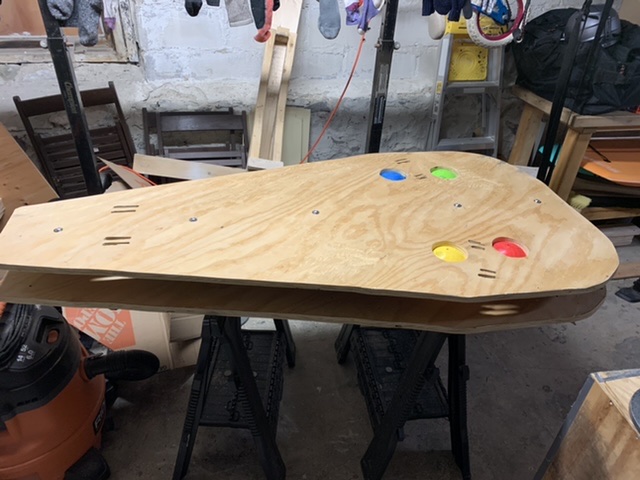
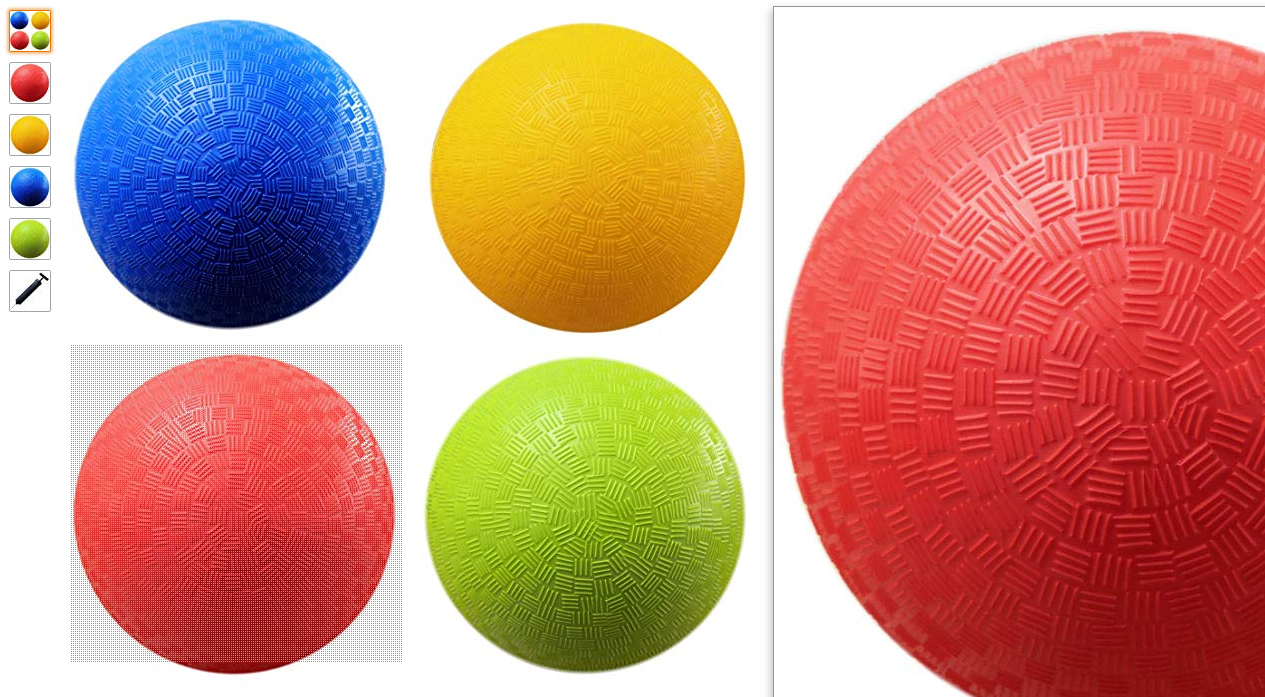
What size rubber balls did you use and what size holes did you cut in the plywood to hold the balls inplace?
The parts for my rocker plate should be delivered tonight.
I used 5” playground balls and the holes are 3.5” in diameter. I looked around the house and found a roll of duct tape that was just the right size as what I needed. Send pics of the build when you are done.
Love the build, well done. ![]()
Can’t wait to hear your feedback from the first rides.
Thanks Chad. I appreciate your help on a few of my earlier questions!
Always happy to help, any way I can. ![]()
Why did you use 4 balls instead of two? Because your rocker is full length?
I’m building a smaller rear only rocker and was thinking about using 4 balls with lower pressure instead on the typical 2 ball set up.