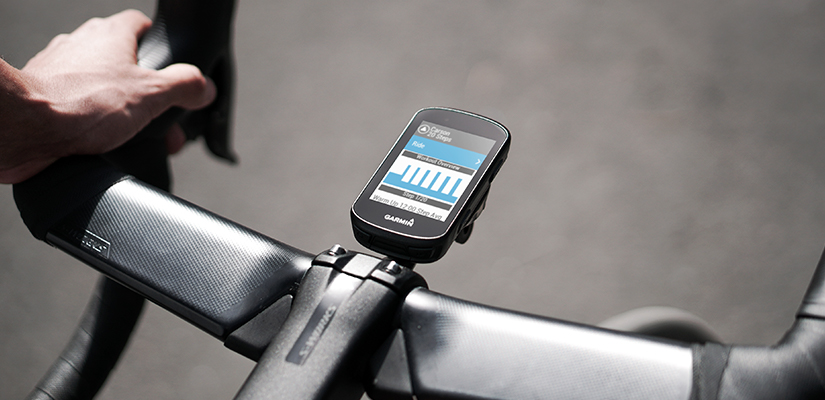
Structured workouts are one of the most effective ways to get faster, and it’s easier than ever to follow them outside with your Garmin Edge. Whether you’re targeting performance improvements or prepping for a big event, TrainerRoad workouts sync seamlessly to your Garmin device. You can take your training outside without sacrificing precision or progress. This guide walks you through how to get set up, start a workout, and ride with confidence.
Syncing Your Garmin Account
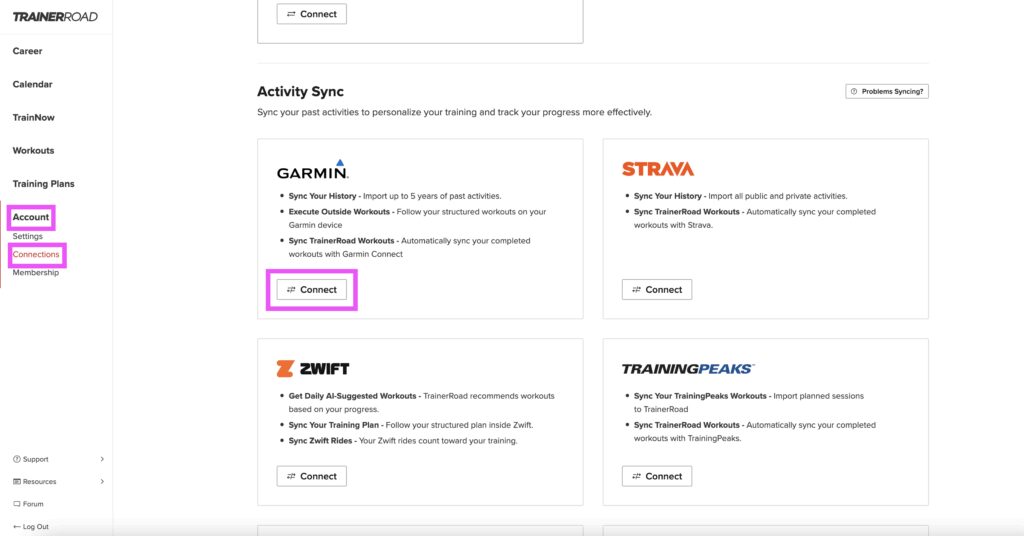
To sync your Garmin account with TrainerRoad, log into your TrainerRoad account, navigate to “Account” or “Connections” > “Activity Sync,” and click “Connect with Garmin” to authorize the connection. This enables two-way synchronization.
Learn more about it here: Sync Garmin Connect to TrainerRoad
Sync a TrainerRoad Workout to Your Garmin Edge
To Sync a TrainerRoad workout to your Garmin for Outdoor Use:
- Open your TrainerRoad account and view your calendar.
- Select a workout you want to complete outdoors.
- Switch the workout from “Indoor” to “Outside”.
- Save the change; the workout will then be pushed to your Garmin Connect.
Note: Ensure your Edge is paired to Garmin Connect for the workout to Sync. - On your Garmin device, look for the “Download Complete” message to confirm the sync.
For more detailed instructions check out this article: Pushing an Outside Workout to Garmin
Best Practices for Training Outside
- Route Planning: choose routes with minimal stops & traffic to maximize safety and workout execution. For more information on making the best route for your training check out this article.
- Longer Duration Expectation: It can take time to get where you want to start your workout. Outside versions can run longer than indoor counterparts both because of travel time, and real-world conditions.
- Safety First: Always ensure your eyes are on the road and minimize screen time. Use lap-based starts to prepare for intervals. You can also have your volume turned up on your Edge so you can hear workout notifications like count downs.
- Practice: Training outside with structured workouts is challenging. The more you do it, the better you can get. Test different data fields and displays to find what will work best for you, and stick with it to meet your training goals.
Completing a Workout on Your Garmin Edge
1) Load a TrainerRoad Workout to Your Edge
You can start a structured workout from Training → Workouts (or Training Calendar if it’s scheduled for today). Pick the workout, review the steps/targets, then tap Do Workout. On current Edge units you’ll see a dedicated Workout/Target page during the ride with step countdowns and target gauges.
Tip: On most non-touchscreen edge units, you should also be able to click the top right-hand button(Select button) and it will jump to a “today’s workout” screen showing what is scheduled for today.
On Newer touchscreen models, select the Training icon on the home screen and you can select today’s workout from there.
2) Starting the Ride & Begin the Workout
- Press the Start/Stop button to start the timer, this begins recording and launches the workout’s warm-up. You can change between data page displays(including the Workout page).
- Once you are ready to start your first interval, you can press the Lap Button to end the warm-up and begin the workout.
Tips:
- When the workout is started with the lap button, workouts with short intervals grouped together, the workout will automatically progress to the next step when the time target completes.
- For workouts with longer intervals, you will need to push the lap button between sets. Recover until the timer hits 0 and the road is conducive to executing your intervals.
- You can also press the Lap button to manually advance the workout. On touch units (Edge 830-1050), you can swipe up on the Workout page for options like Pause step or Back to repeat the previous step.
3) During the Workout: Pause, Resume, & Alerts
- For stops at red lights, fueling, or other necessary breaks, you must manually press the Start/Stop button to pause and resume the timer.
- Step alerts/tones: you’ll see and hear countdowns near each step/interval change. This is normal and helps you hit targets.
Return to the previous interval non-touchscreen models:
- During a workout, go to the workout screen and press the button on the top-right of your device.
- In the menu, select ‘Restart Step’ to return to the beginning of the current interval. On newer firmware, you may also see a “Previous Step” option.
Return to the previous interval non-touchscreen models:
- During a workout, go to the default “Workout” screen, which shows your progress with a colored bar.
- Tap on the screen or swipe up to view the workout options, and in the options menu, select one of the following:
- Previous Step: Moves you back to the beginning of the previous interval or rest step.
- Restart Step: Returns you to the beginning of the current interval.
4) End & Save the Workout
When you’re done, press Start/Stop to stop the timer, then Save the ride (or Discard if you truly don’t want it). The workout will sync with TrainerRoad for it to be assessed and counted towards your progress and FTP.
You can also end the workout but not the activity by hitting the “lap” button since the last interval is always an open interval. It’ll pop up with a “workout complete” message. You can keep riding and the auto-pause function will work.
Customizing Data Screens for Structured Workouts
Garmin shows a built-in Workout/Target screen with your current step, target range, and time/distance remaining. You can also add your own data screens per activity profile so you always see the metrics you care about (e.g., 3-sec Power, Lap Power, Avg HR, Cadence, %FTP, Time to Go).
How to customize (typical Edge flow):
Activity Profiles → [Your Profile] → Data Screens → Add Screen / Edit Screen → choose your layout & fields. Keep the default Workout page enabled so you still get the target gauge and countdowns.
General Screen Suggestions(keep it simple):
- Workout/Target page (built-in): step name, target gauge, time/distance remaining (leave as is).
- Power Focus page: 3s Power, Lap Power, %FTP, Cadence.
- Context page: Heart Rate, HR Zone, Speed, Elapsed time.
The default Garmin workout screen shows step details and targets, but customizing your data fields can make hitting your intervals easier and more effective. Below, you’ll find optimized layout suggestions for each major Edge model, so you can see exactly what you need, without distraction.
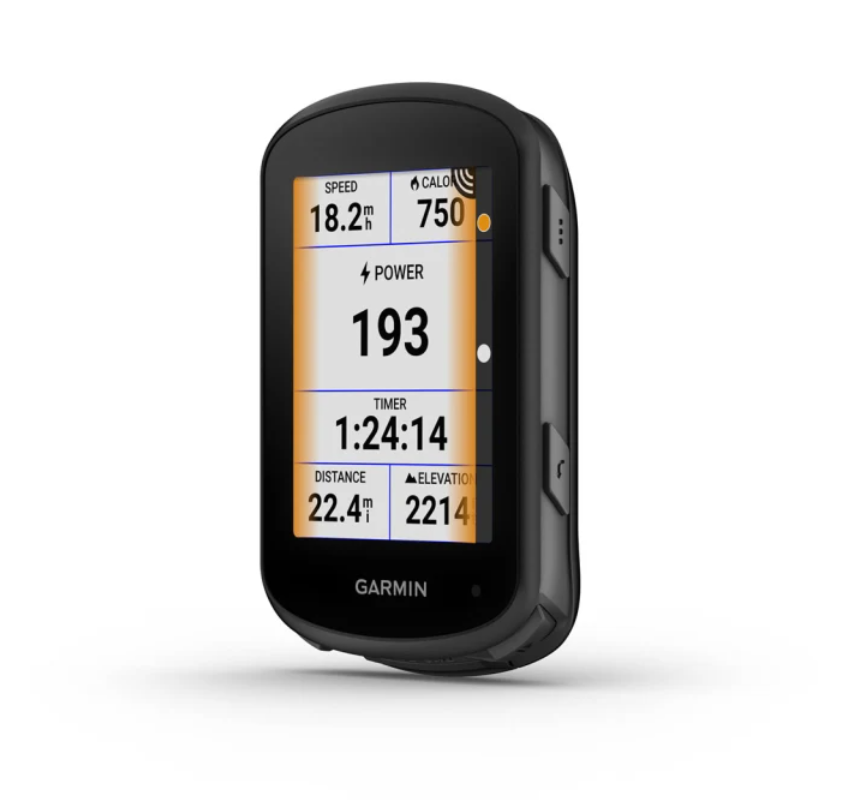
Edge 530, 540, 830 — 6-Field “Interval Focus” (best readability on smaller screen)
Layout: 2×3 grid (6 fields)
- 3s Power – primary pacing (hit targets without chasing spikes)
- Lap Power – confirms you’re averaging the right power within the interval
- %FTP – quick check that intensity matches the plan scaling
- Cadence – technique and fatigue management
- Heart Rate – internal load (heat, altitude, fatigue) context
- Lap Time – track interval progress when steps are lap-based
How to set it (830):
Activity Profiles → [Your Profile] → Data Screens → Add New (choose 6-field) → assign fields above. Ensure the Workout page is turned On so you still see step targets and countdowns.
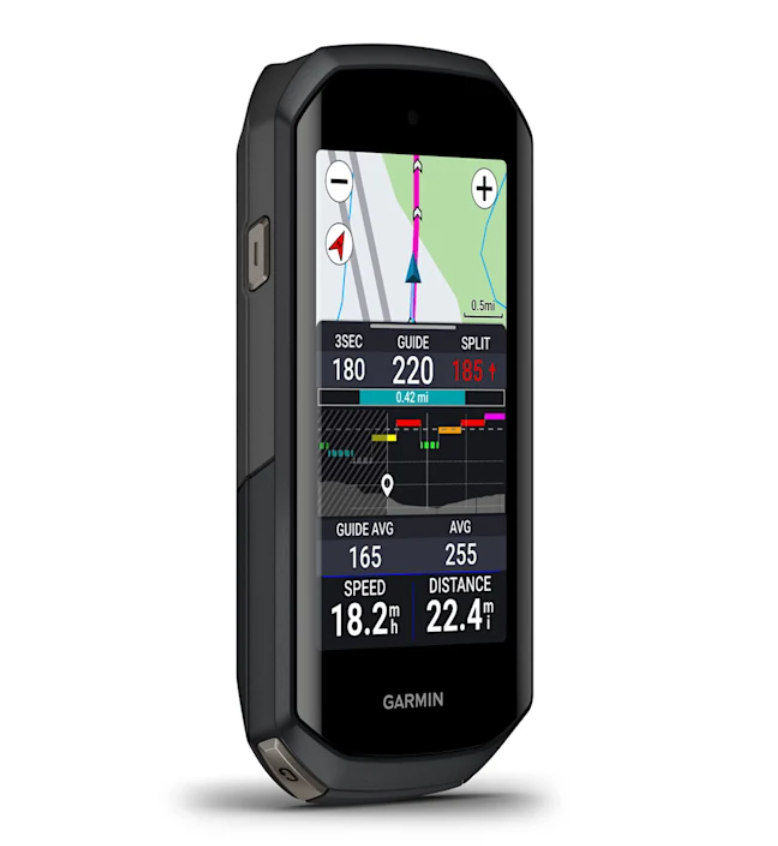
Edge 550, 840, 850 — 8-Field “Interval Focus” (more context, same clarity)
Layout: 2×4 grid (8 fields)
- 3s Power
- Lap Power
- %FTP
- Cadence
- Heart Rate
- HR Zone – quick color/zone cue to avoid overcooking
- Lap Time – monitor interval duration
- Grade (or Speed*) – useful on hilly routes to understand power-vs-terrain*
How to set it (840):
Activity Profiles → [Your Profile] → Data Screens → Add Screen (8-field) → assign fields. Keep the Workout page enabled for step target bars and time-remaining.
Edge 1030-1050 — 8-Field “Interval Focus” (big screen, big clarity)
Layout: 2×4 grid (8 fields)
- 3s Power (top left, large glance)
- Lap Power
- %FTP
- Cadence
- Heart Rate
- HR Zone
- Lap Time (or Step Distance if you commonly use distance-based intervals*)
- Elevation (or Grade*) — extra context on climbs
How to set it (1050):
Activity Profiles → [Your Profile] → Data Screens → Add Screen → 8-field layout → assign fields. Leave the Workout page on for target bands and step countdowns.
Why these fields?
- 3s Power: real-time control without showing every fluctuation.
- Lap Power: interval integrity (keeps you honest on long steady efforts).
- %FTP: quick reality check that target intensity matches your plan.
- Cadence: technique and fatigue insights(especially at Threshold and above).
- Heart Rate & HR Zone: internal load guardrails in heat/altitude/fatigue.
- Lap Time: progress when workouts use lap-triggered steps or free-ride warmups.
- Grade/Elevation (840/1050): terrain context to explain power drift.
Additional Customization Options:
Swap a field for “Average Power (Last Lap)” if you like comparing interval-to-interval consistency post-effort.
Quick Troubleshooting & Tips
- Don’t see your workout? Check Training → Workouts vs Training Calendar (only workouts on today’s date appear in Calendar).
- Lap to start intensity: TR workouts use a “free-ride until Lap” warmup. When you’re ready, press Lap to begin the first interval. (This behavior is controlled by the workout’s step settings.)
- Keep it consistent: Use the same screen view for workouts to avoid confusion and keep your focus on the road. Many athletes set up a profile specifically for workouts.
- Saving the ride: Always Save at the end; if you stop and only see Save/Discard, choose Save, you can’t resume after saving.
Helpful Reference
- Create Custom Screens on Garmin Edge (how to add/edit fields per profile).
- Garmin – Workout data screen glossary (what the workout screen shows).
- DCRainmaker – Edge 1050 review (modern workout UI/behavior, context for what you’ll see).
See You Out There
Training outside with structure doesn’t have to be complicated. With TrainerRoad workouts synced to your Garmin Edge, you get the best of both worlds: outdoor freedom and structured training. Set up your device, follow your plan, and enjoy more productive rides that still fit your lifestyle. If you need help along the way, the TrainerRoad support team is always here for you.