Saris H3 Discussion/Issues

Don’t bank on it. I bought a second hand one after a failed attempt with a Neo and Kickr. Applied very aggressive texture to the pulley, proper tension, 2 weeks later and it screams at 450w+.

This is after I returned 4 units directly to Saris because they each made it about 3-4 weeks

1 Like

They have two sorts of belts the one for H3 and other for Hammer and H2.
From those what is the one you adress as being textured?


The belt on mine is:

The belts aren’t the part that need texture. It’s the large upper pulley which has a flat surface which cannot grab the belt causing it to slip. Sanding the upper pulley to give it some traction only works temporarily

They seem to answer to that on one of their FAQ´s:

https://bikerumor.com/2019/12/20/aasq-60-saris-spins-out-answers-to-all-your-trainer-stationary-bike-related-questions/

I’m the Alex that asked that question, and their answer is absolutely asinine, like how their trainer is special because it handles thousands of watts and not hundreds of horsepower (2000w is about 3 horsepower). If a grooved pulley causes the belt to jump, it’s not grooved right or is out of balance. No competent engineer would agree with this EVER.

I don’t buy that answer for a second, every other company uses a ribbed pulley and doesn’t have this issue. It’s an outright lie to detract attention

1 Like

I agree, fully.
The same misalignment is on that guiding roller on the lower pulley that makes no purpose as it is positioned.

Do you think there may be an application to those sort of belt anti-slipping agents, from Loctite, other from Wurth?

Yes those supposedly work. I’m just irked that not only did they make a poor design, they have been tying to weasel out of properly fixing it since the beginning. Their fixes have been similar to what I would think of doing if I was a one man company with no tooling or resources and just built a trainer in my garage. Except this is Saris, a huge company.

1 Like

I have the same issue. I’ve put the belt “back on track” and after a couple of spins the problem is here again. I contacted Saris 2 days ago, no response yet, but I’ll keep you updated if I have new Information.
Obviously, it seems to be a common problem and I have to admit, for a long time I thought “ahhh, that noise doesn’t really bother me” but the smell of burnt plastic together with my fire-alarm going off (seriously! :sweat_smile:) eventually convinced me. So I guess there are other people out there having the same issue an might not care about it or doesn’t even notice it. Nevertheless, Saris needs to fix this.

While there are clearly units with belt problems, I don’t think it is as simple as ‘large pulley needs grooves’. My front loading washing machine uses the exact same setup - small grooved pulley, large smooth pulley.
A quick search for “pulley design for ribbed belt” brought up two different belt design guides which both give guidance for applications just like this - using a small grooved pulley and a flat large one.
In fact, one of them states:
image

Something is clearly wrong on these units that are chewing up the case, but using a flat pulley in cases similar to this is reasonable based on these belt design guides.

2 Likes

That may he the case for a washing machine or dryer, but they’re also not ramping up and down in speed/resistance like Spanish Needle.

Also the transmission is reversed, pretty sure in a washing machine there’s a smaller pulley which is turning a belt, and the belt is turning the smooth larger drum. In the trainer The force is being applied to that smooth larger pulley and going through the belt and turning the small pulley instead. The force isn’t being applied at the same place, and I’d argue the forces are quite different.

1 Like

Still with the unit opened, I done a morning ride, roughly 45 minutes at 220W AVG, with some peaks over 500 Watts.

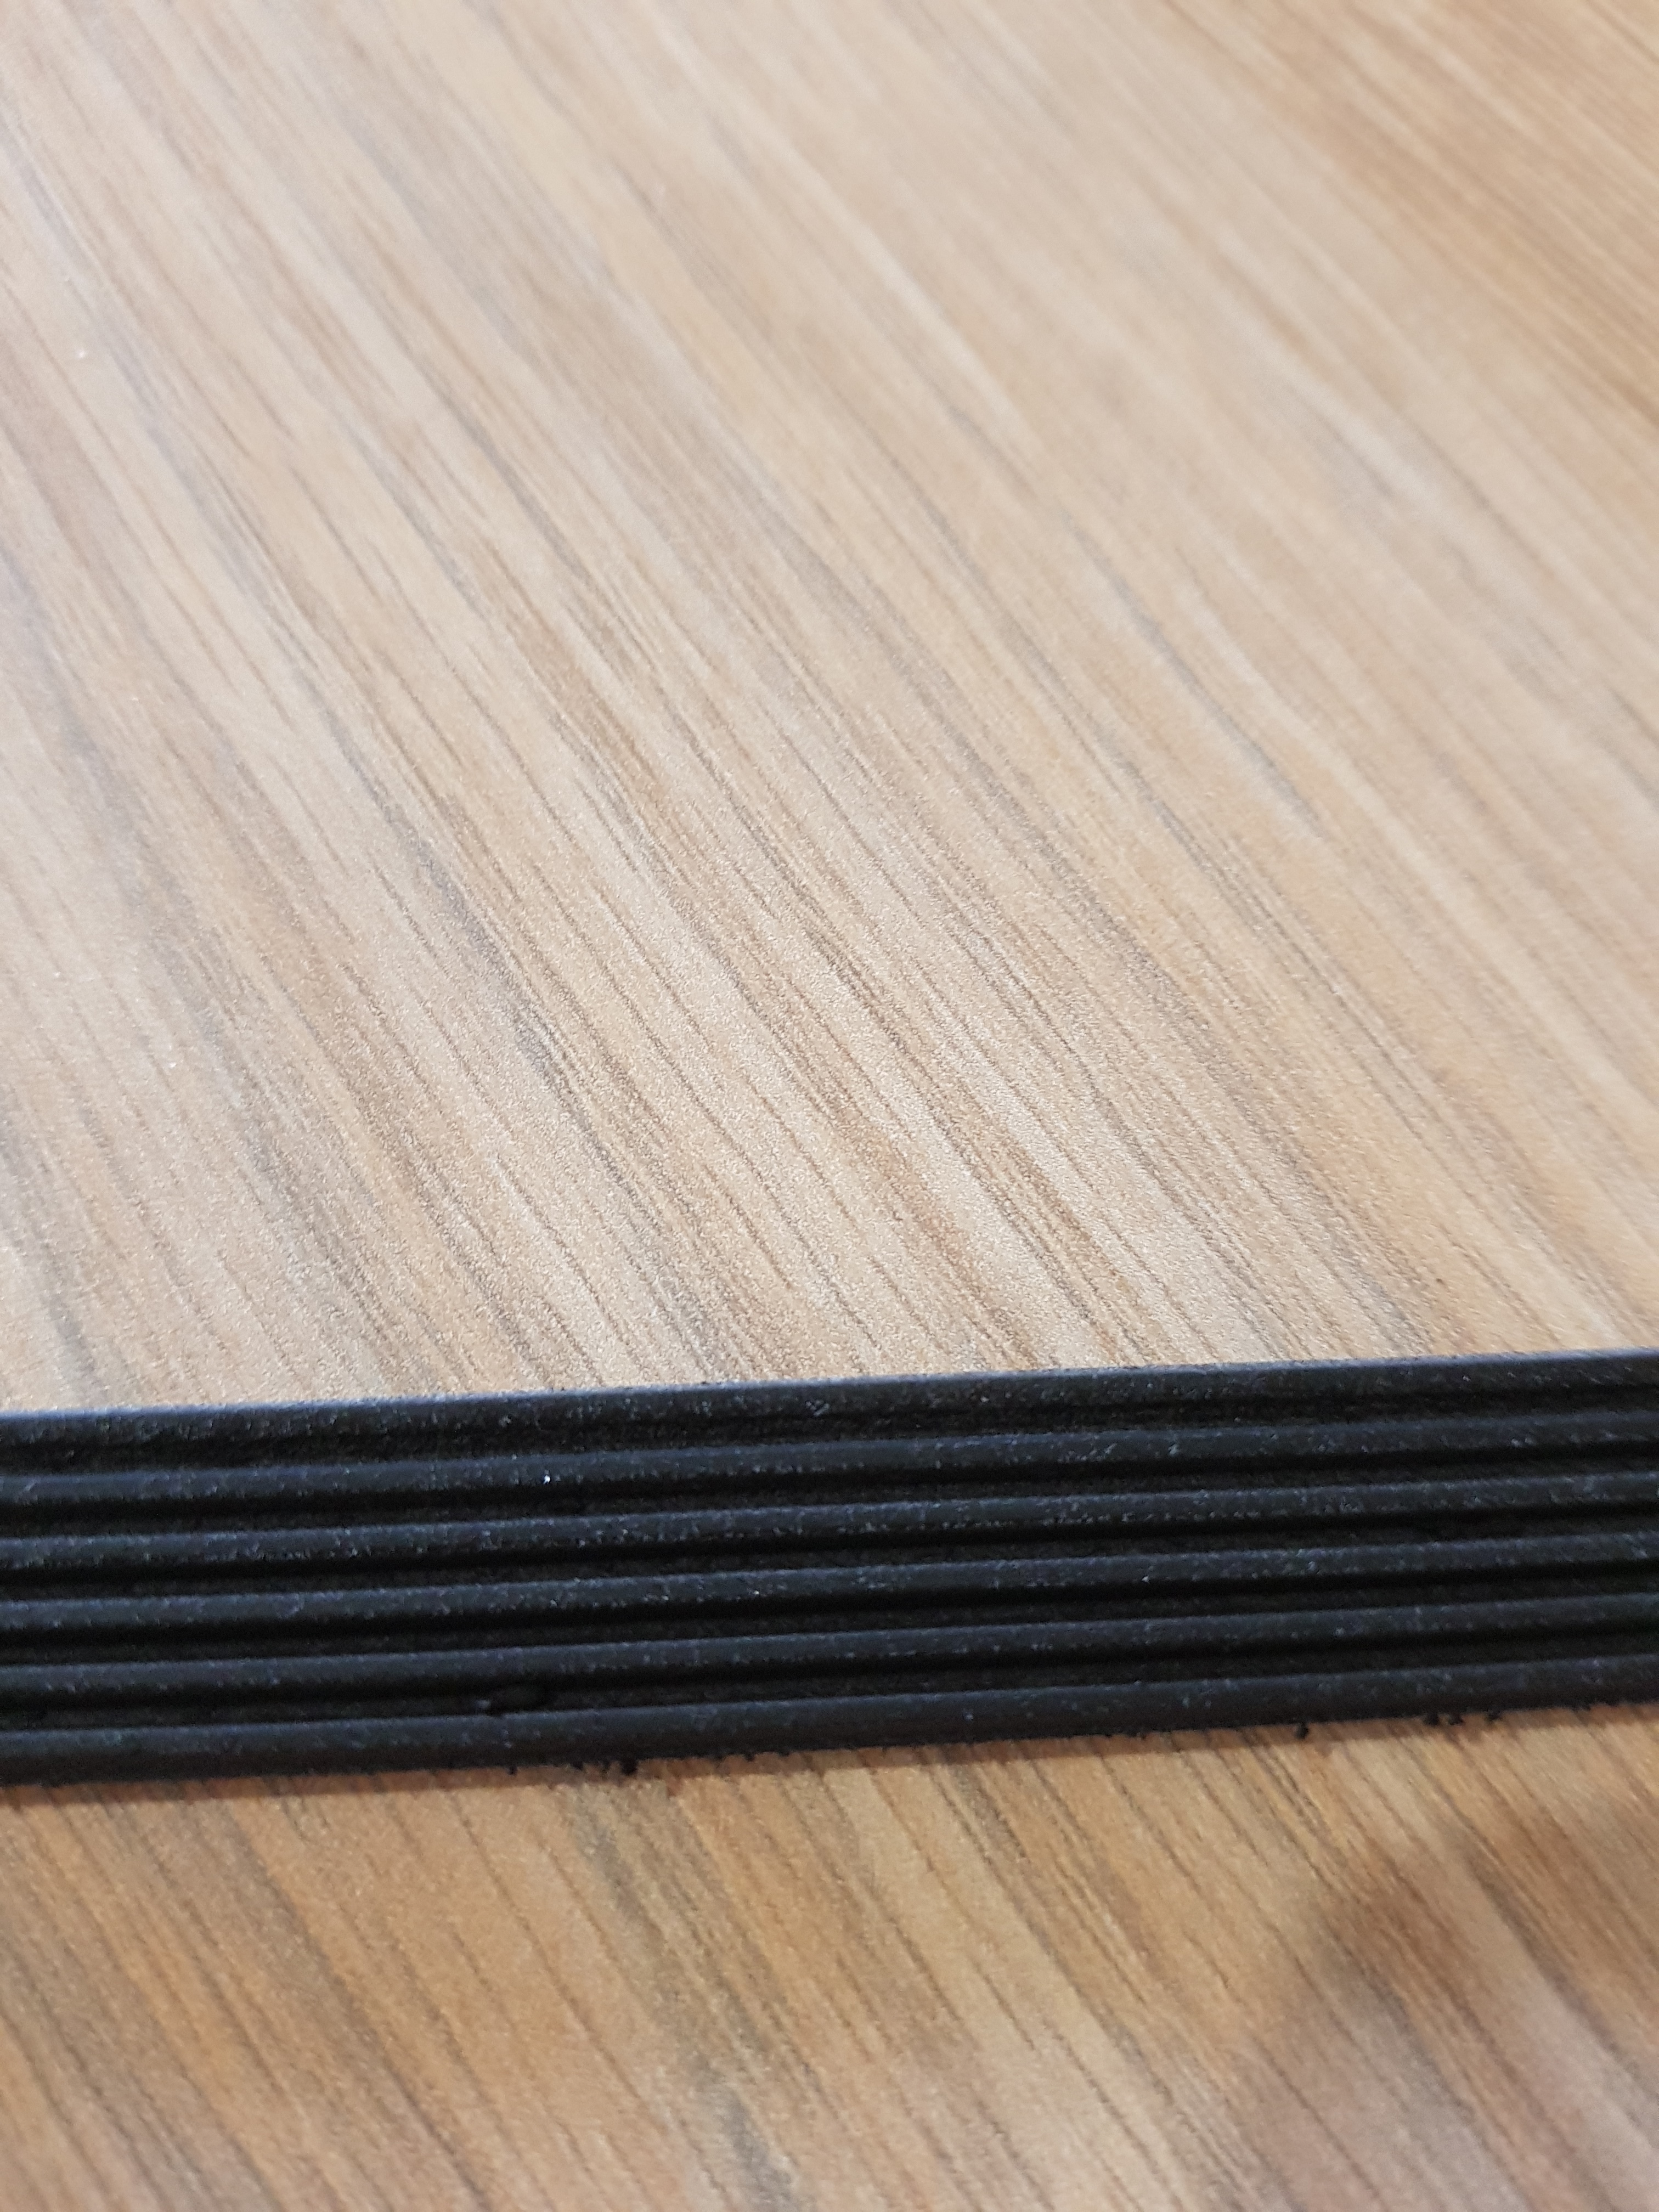
No slipping at all, but let me remark that a local alternative of these common agents destined to increases pulling power and prevents slippage was used, sprayed on the inner face of the belt, last night.

Something similar to these:

The belt becomes sticky and seems to have worked, for how long I am not sure…

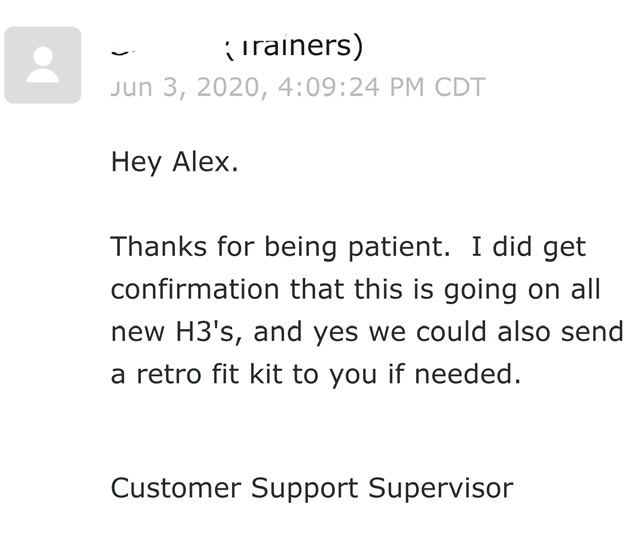
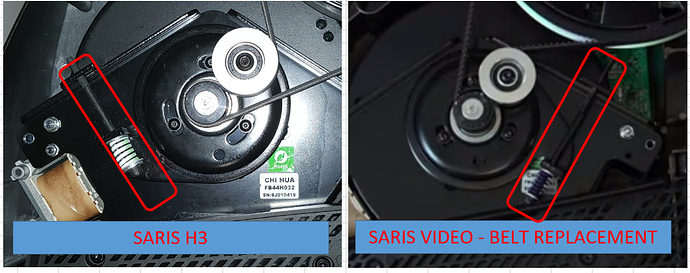
After applying it I released the tension on the screw, mine is on the left, as commented yesterday, I am sure I have not a special unit sent to Portugal, it is just not updated on their site and belt replacement instructables.

Counter clockwise two turns on the screw, more or less.

Again I stress that I have no idea of how far the spring as to be compressed, since using the recommended ¾ gauge seems not feasible for the length of the spring on my unit.

The plastic base of the H3 it shows a square opening that seems tailored for accessing the units with the screw on the right.

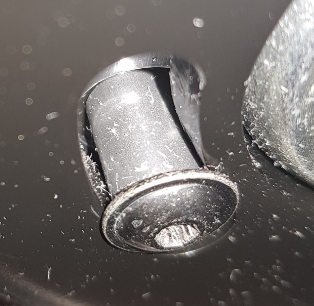
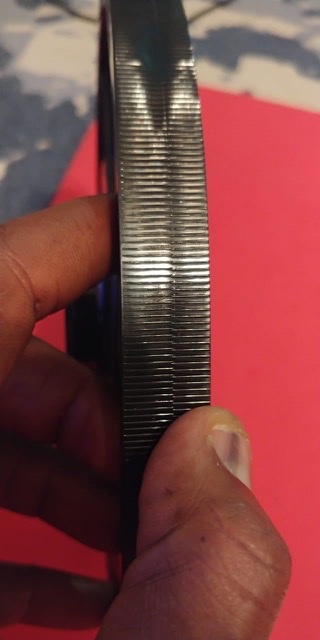
After the ride; with no slipping at all, the belt is still more or less centered on the upper pulley.

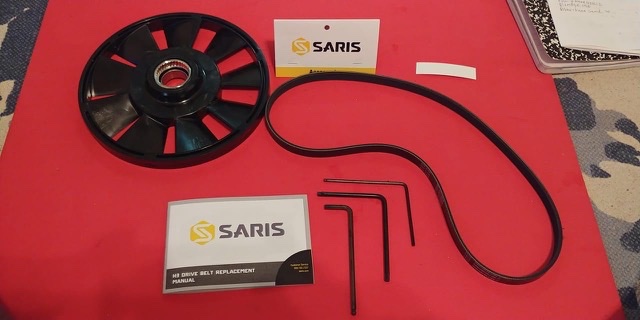
Deserves to check the comments (from IamHolland) made around the fact that the plate where the tensioner pulley is mounted may not be well aligned.
That plate is well built and strong enough; it is laying on a big plastic spacer that promotes the rotation of the plate when belt tension is applied.
The 3 screws have metallic spacer tubes that seem to have the purpose of assuring that the plate is still able to rotate on further belt tension adjustments.

C

I think that with proper using of different washers we may be able to achieve a better alignment of that plate and proportionally the belt centring on the big plastic pulley to a reasonable situation.

Lets see…and thanks for all the inputs.

Little update: I sent photos of this pulley to my guy at Saris to see what the deal was. This was the response, good to see them making a better effort even if I don’t understand why

image

3 Likes

Good deal. Get that baby and put it to the test :stuck_out_tongue:

1 Like

Interesting. No issues with mine so far after my initial swap out due to a knocking sound from Saris which was at least 3 months back.

2 Likes

Seems that all the effort is starting to pay off…sort of return of investment.
Great.

Can someone elucidate what is happening around units like mine, left picture/tension screw on the left and the other concept (right picture tension screw on the right).

Taking in consideration that we have a clockwise rotation:

1)LEFT: the belt enters the upper pulley coming from the tensioner pulley
(what I am sure gives much more traction on the upper pulley since the entrance angle promotes more contact with the upper pulley surface)

2)RIGHT: the belt enters the upper pulley coming from the small grooved pulley.

C .

Easy to acknowledge that just rotating the plate where the tensioner pulley is installed we can make the left and the right setup easily. The triangular shape of the structure is symmetric and the threaded piece for the tensioner screw is a single part that can be moved to the other side.
(there is another hole on that plate to be used for installing the tensioner pulley, if the choice is to use the other setup (tensioner screw on the right))

The pic on the right is the H2, where the belt is routed differently. They just have out of date photos in the manual.

Thanks.
Are you sure that 3/4 gauge that we see on the replacement belt kit is suitable for setting up the H3 ?
I am not sure, I have not the unit near me but if 3/4 is 19mm, I think my white spring cannot compress so far.